Rental-Friendly Decor · THE GUIDE
Assemble a Modular Bedside Table from Stacked Solid Pine Crates
Furnishing a rental bedroom often involves navigating narrow doorways, frequent relocations, and varying bed platform heights. Bulky, manufactured nightstands can be awkward to transport and inflexible when room dimensions change between leases. Stacking untreated solid pine storage crates provides a practical, adaptable bedside storage solution that configures easily to matching mattress levels. When moving day arrives, these wooden crates instantly revert to sturdy packing containers for books and accessories. By applying deliberate orientation, non-slip buffers, and structured internal organization, you create a stable, charming nightstand with zero permanent alterations.
Jump to the checklist ↓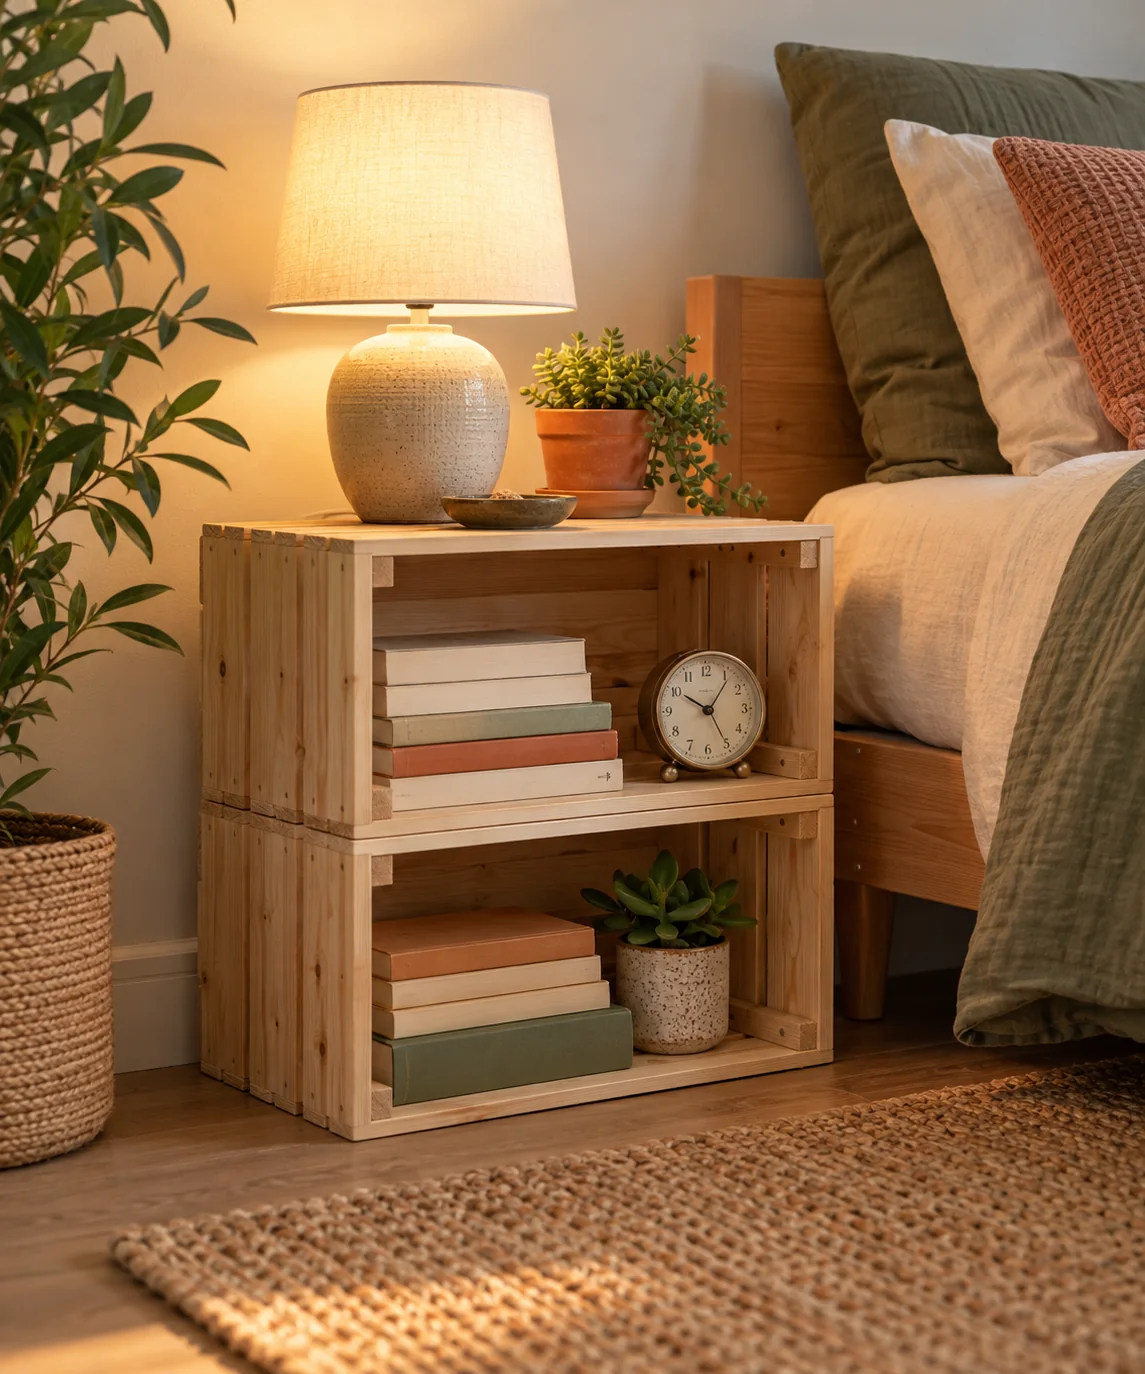
Selecting and Preparing Raw Pine Crates
Select solid pine utility crates with sturdy slatted sides and reinforced end panels instead of thin, decorative craft boxes. Before bringing unfinished lumber beside a bed, inspect all surfaces for splintering, rough milling marks, and protruding staples or fasteners. Sand the exterior panels, interior cubbies, and corner edges with medium 120-grit sandpaper, finishing with a fine 220-grit pass to remove burrs. A uniform, smooth texture helps prevent bedding, woven throws, or device cables from catching and fraying during everyday use.
Determining Vertical and Horizontal Configurations
Check the height of your mattress surface relative to the floor before arranging the crates. Laying two standard utility crates horizontally creates a broad, low-profile stand with two wide cubbies, typically resting close to twenty inches high. Stacking them along their narrower ends creates a taller, more compact footprint suitable for elevated bed frames. Position open sides facing the bed so books, glasses, and small accessories can be reached without leaning awkwardly, keeping the stack low enough to avoid awkward top-heavy proportions.
Mitigating Shifting Between Unfastened Crates
Stacked wooden crates placed without mechanical wall fasteners will never match the rigidity of permanent furniture. Because rental agreements often prohibit anchoring into baseboards or drywall, take careful precautions to minimize shifting. Place dense silicone grip pads or textured rubber mesh between the contact points where the two crates meet. Fastening the rear slats loosely with removable hook-and-loop straps or small clamp grips provides additional resistance against minor lateral knocks, though unanchored units should never be climbed on or pulled.
Organizing Internal Cubbies and Weight Distribution
Slatted sides leave interior contents visible and can create a cluttered look if loose items accumulate. Place fabric organizer bins, felt trays, or shallow woven baskets inside the compartments to collect smaller personal items such as charging cords, lotions, and sleep accessories. Always position heavy hardcover books or weightier storage boxes flat along the bottom surface of the lowest crate. Keeping the heaviest items at the base lowers the unit's overall center of mass, helping to reduce the risk of accidental tipping.
Surface Protection and Move-Day Utility
Bare, unsealed pine readily absorbs oils from hands and rings from drinking glasses or water carafes. Rubbing a light coat of natural furniture wax or clear wood balm into the upper surface adds a basic water-resistant barrier without permanent chemical stains. Always use an absorbent or cork coaster under beverages to prevent swelling in the wood grain. When relocating, remove bedside goods, pack the crates with household items, and load them directly into moving vehicles as modular packing containers.
YOUR STARTING POINT
A little checklist.
Original editorial guidance. Images are AI-generated concepts, not photographs of completed projects. Our sources and approach.
Questions to consider
Can stacked pine crates support heavy ceramic table lamps?
While solid pine can support downward compression, an unanchored two-crate tower is prone to tipping if bumped. Use lightweight task lights or clip-on lamps rather than top-heavy ceramic or glass bases, and place heavier items in the lower crate to improve balance.
How can I join the crates together without permanent wall holes?
Placing non-slip silicone pads between the contact surfaces helps limit shifting. You can also loop removable hook-and-loop cable wraps through the adjacent rear slats to bind the two boxes together without drilling or causing surface damage.
How do I clean dust out from between the slatted wood gaps?
Run a vacuum cleaner equipped with a soft dusting brush attachment along the slats. To lift fine dust from narrow joints, guide a microfiber cloth wrapped around a stiff piece of cardboard through the gaps.