Small Kitchen Organization · THE GUIDE
Compact Dish Drying Rack with Spout Over the Sink Lip
Compact kitchens rarely have enough counter real estate to dedicate a large footprint to dish drying. Standard flat drain mats often leave pooled water trapped against laminate seams or natural stone edges, promoting mineral deposits and grime. A compact dish drying rack equipped with an angled drainage tray and an integrated directional spout directs runoff directly over the sink rim. This targeted water management keeps adjacent counter space clean, dry, and usable for food preparation while safely holding wet plates, bowls, and cutlery until dry.
Jump to the checklist ↓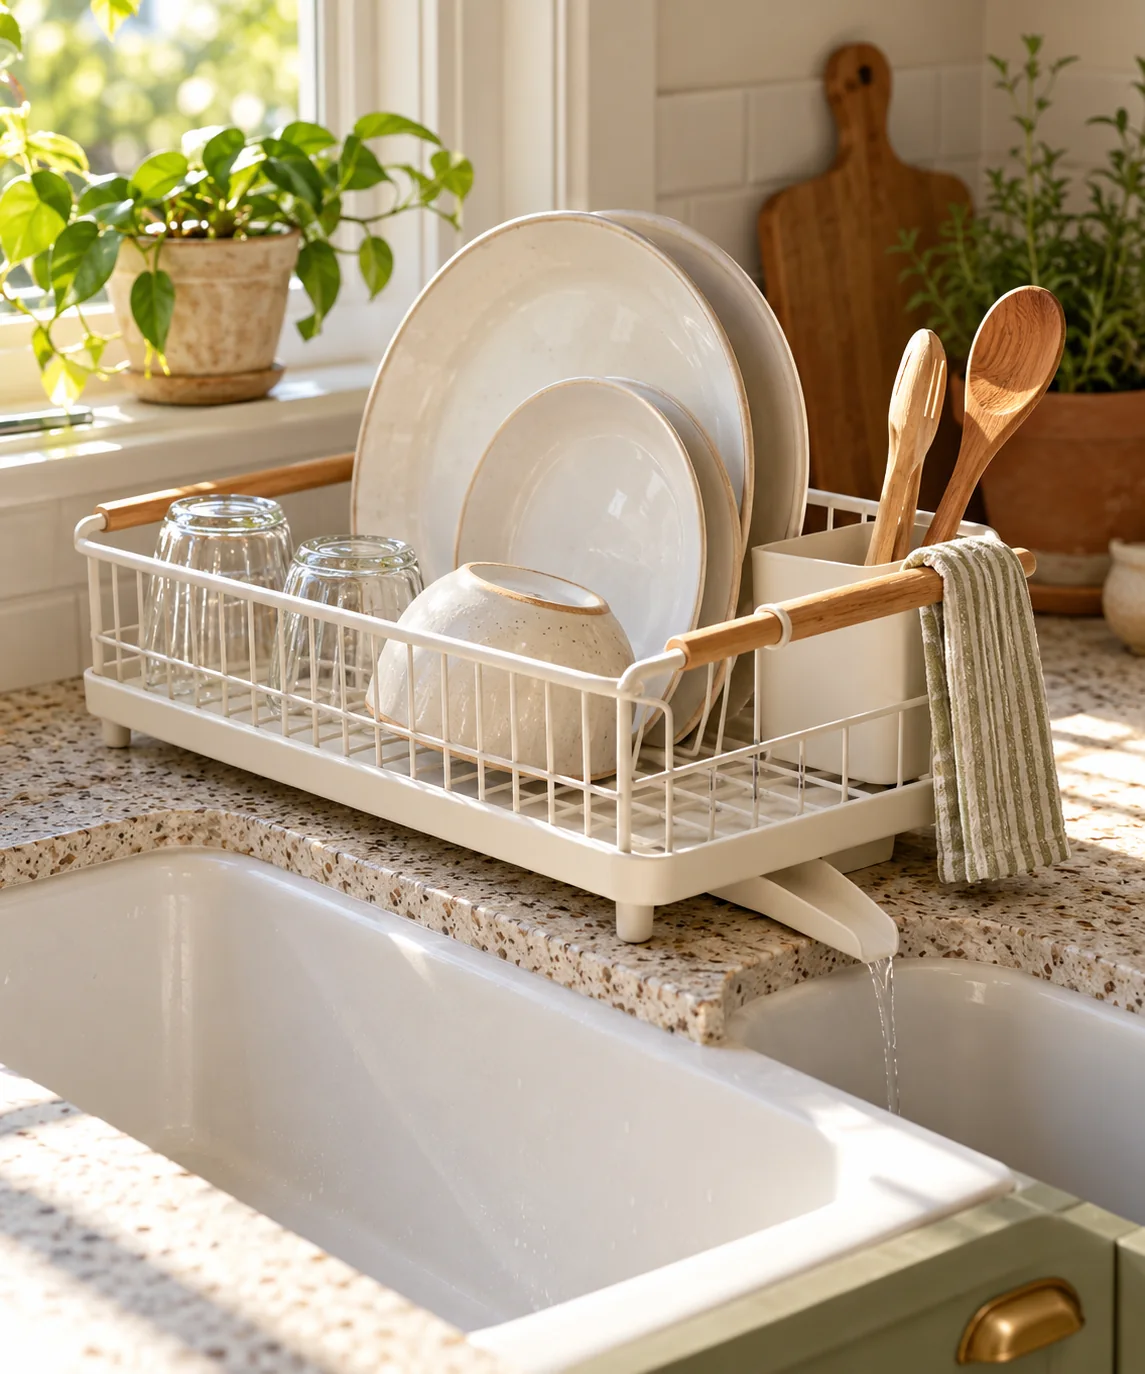
Directing Runoff and Sink Clearance
Position the drying rack immediately adjacent to the sink rim so the integrated drain spout projects over the sink basin. Ensure the counter surface is level or slopes slightly toward the sink rather than away. The spout must clear the sink lip without being pinched against raised drop-in rim edges. If your sink features a tall perimeter flange, look for an organizer with height-adjustable feet that elevate the drainboard base sufficiently above the counter surface.
Optimizing Small-Footprint Dish Capacity
With limited drying area, placement strategy determines how much cookware the rack can hold. Position heavy dinner plates vertically in the wire slots along the sturdiest rack edge, facing inward toward the center. Place glasses and mugs along perimeter pegs or flat lower wire grids. Use a dedicated divided cutlery caddy to stand forks and spoons handle-down. Avoid stacking bowls three layers deep; instead, invert them in an overlapping shingled pattern for maximum airflow.
Existing-Item Counter Trials
Before buying a fixed rack, simulate the layout using a small baking sheet propped slightly at an angle with a cutting board edge next to your sink. Wash a typical load of breakfast dishes and rest them on this makeshift surface to test ergonomics. Determine whether the rack location interferes with your dominant washing hand or blocks access to soap dispensers and the faucet handle during normal dish prep tasks.
Managing Limescale and Spout Maintenance
Hard water quickly leaves chalky mineral rings inside the sloping drainage channels and around the spout tip. Clean the plastic or stainless steel tray weekly by rinsing it thoroughly with warm water and mild dish detergent, using a soft bottle brush inside the spout cylinder. Do not let oily residue settle on the drainage slope, as grease alters water surface tension and causes droplets to pool instead of running smoothly into the sink.
Structural Limitations with Heavy Cookware
Compact drying racks are engineered for lightweight daily dishes, mugs, and utensils rather than heavy cast-iron skillets or wide stockpots. Overloading one side of a narrow rack with heavy cookware can tilt the entire assembly, spilling soapy water across the counter or chipping delicate glassware. Dry substantial Dutch ovens and large roasting pans immediately by hand with a clean dish towel instead of letting them dominate the small rack.
YOUR STARTING POINT
A little checklist.
Original editorial guidance. Images are AI-generated concepts, not photographs of completed projects. Our sources and approach.
Questions to consider
What if my sink has a raised rim that blocks the spout?
Choose a model with adjustable riser feet, or place non-slip rubber pads under the rack legs to lift the tray high enough for the spout to clear the lip cleanly.
How do I prevent water from dripping when loading silverware?
Mount the utensil holder on the inner edge of the rack directly over the sink basin or drainboard. Shake excess water off flatware before placing it upright into the basket compartments.
Can the drainage spout become clogged over time?
Yes, soap scum and mineral deposits can restrict water flow through narrow spouts. Clear the spout passage regularly with a small bottle brush and warm water to maintain continuous drainage.