Rental-Friendly Decor · THE GUIDE
Cultivate Kitchen Microgreens in a Shallow Window Box
Growing fresh edible greens inside an apartment is simple with a compact window box resting right on your kitchen sill. Microgreens—such as radish, broccoli, and pea shoots—require only shallow soil and abundant natural sunlight, eliminating the need for bulky containers or exterior building modifications. By selecting a stable planter that fits securely within your interior window frame, you can cultivate continuous harvests of flavorful greens year-round. This approach keeps living ingredients within arm's reach of your prep counter while maintaining a clean, rental-friendly setup that protects your interior woodwork from moisture or soil spills.
Jump to the checklist ↓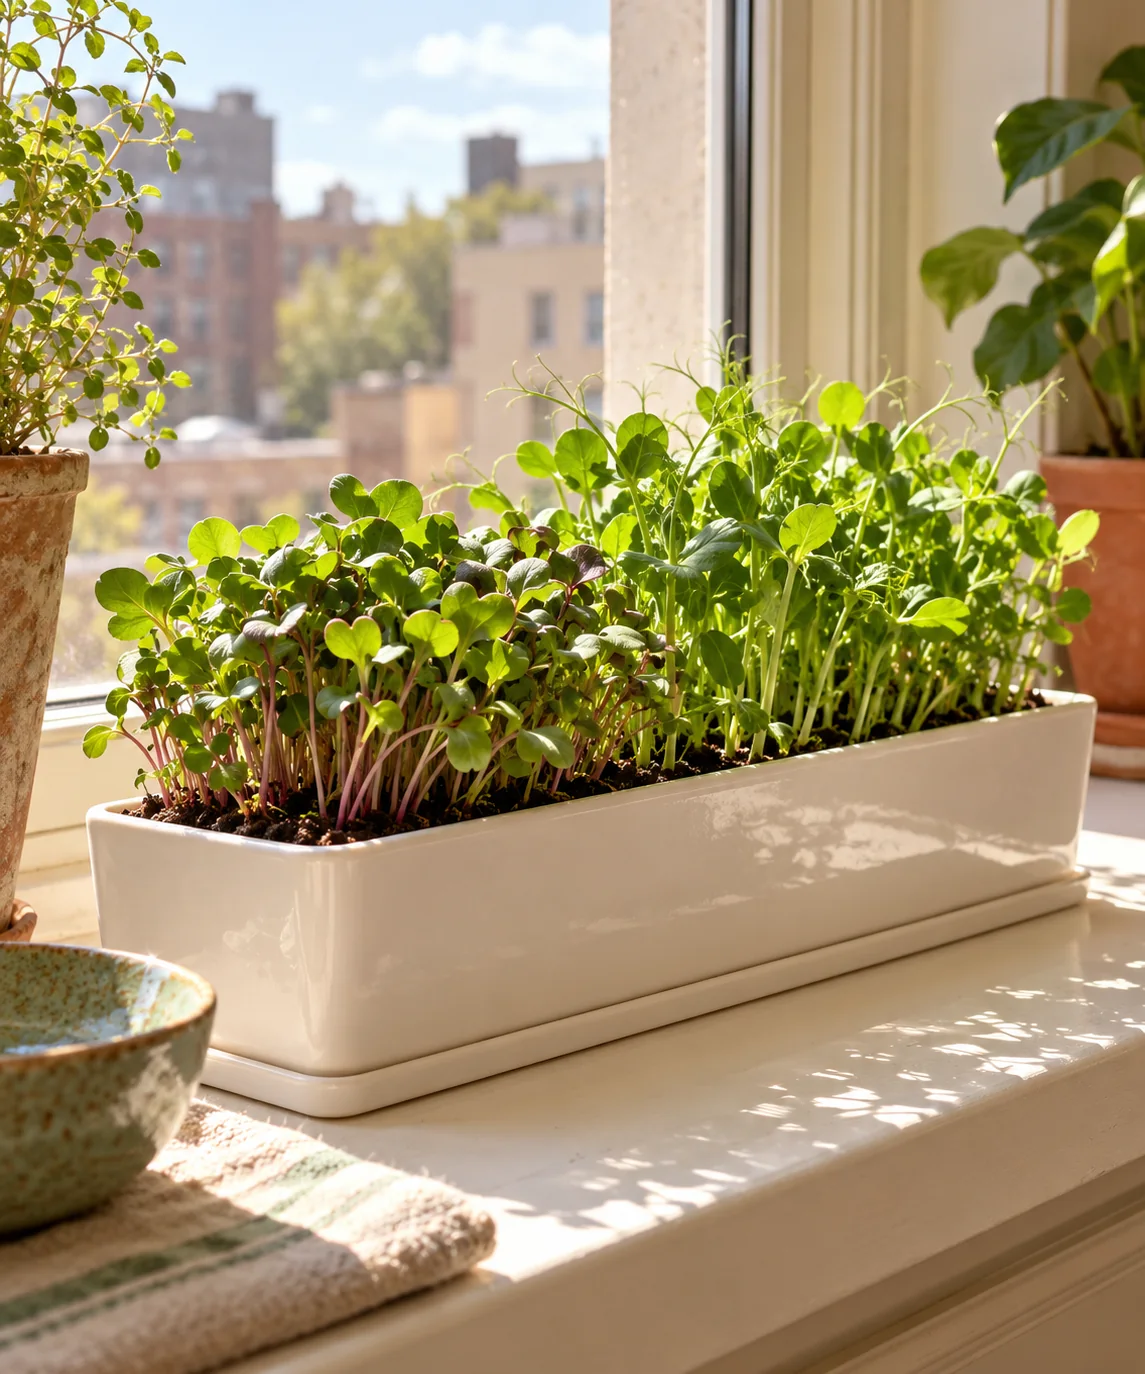
Select the Proper Sill Container
Choose a shallow planter box roughly two to three inches deep, ensuring its base sits entirely flat on your sill without overhang. Ceramic or food-safe plastic troughs with matched, watertight drip trays protect painted sills from water pooling. Measure window depth carefully; a sill must support the planter width securely to prevent accidental bumps when opening curtains. If your sill feels slick, place a non-slip silicone mat underneath the drip tray to stabilize the planter and shield the sill finish.
Light Requirements and Window Positioning
Culinary microgreens demand intense direct light to develop strong stems and true leaves without growing leggy. Place your window box on an unobstructed south- or east-facing sill that receives at least four to six hours of direct sun daily. Rotate the planter end-for-end every two days so the tender shoots grow vertically rather than stretching toward the glass at an extreme angle. Keep the planter away from direct drafts caused by air conditioners or active heating vents.
Soil Preparation and Sowing Density
Fill the container with two inches of damp, sterile potting mix formulated for seed starting. Level the soil surface gently with a flat piece of cardboard, avoiding heavy compaction. Scatter seeds—such as radish, mustard, or sunflower—densely across the top layer so they form a tight carpet. Cover seeds with a paper-thin dusting of soil or simply press them into firm contact with the medium. Mist the surface thoroughly with a hand sprayer until the top layer is evenly moist.
Moisture Management and Watering Technique
Microgreens are sensitive to both drought and waterlogging, making measured hydration essential. Use a gentle pump spray bottle for the first few days to prevent dislodging delicate sprouting seeds. Once roots anchor into the mix, deliver water directly into the bottom tray or pour a thin stream along planter edges so the root zone draws moisture upward. Empty standing water from the saucer after twenty minutes to prevent fungal issues or root rot, keeping the growing medium consistently damp.
Harvesting and Successive Cropping
Harvest shoots once the first set of true leaves emerges, typically ten to fourteen days after sowing. Use clean kitchen shears to snip stems roughly half an inch above the soil line to avoid harvesting dirt particles. Because microgreens do not reliably regrow after cutting, compost the spent roots and soil mix after harvesting. Wash the container thoroughly with warm soapy water before seeding the next batch, allowing you to run staggered rotations for a steady kitchen supply.
YOUR STARTING POINT
A little checklist.
Original editorial guidance. Images are AI-generated concepts, not photographs of completed projects. Our sources and approach.
Questions to consider
Can I grow microgreens on a north-facing window sill?
North-facing windows rarely provide sufficient direct sunlight for compact microgreen growth. Shoots become pale, weak, and leggy as they stretch for light. Microgreens require strong natural sunlight from east- or south-facing windows for dense, healthy leaf yields.
How often do windowsill microgreens need water?
Check the soil surface daily by touch. Water when the top layer feels slightly dry, using a misting bottle initially and bottom-watering once sprouted. Avoid saturating the medium, and always drain excess saucer water promptly after twenty minutes.
Can I reuse the potting soil for another batch?
It is best to discard or compost the spent root mat after harvest. Microgreen roots leave dense organic matter that decomposes slowly, which can harbor mold or impede healthy seed germination in the very next planting cycle.