Kitchen Herb Gardens · THE GUIDE
Enamel Bread Bin Herb Caddy with Removable Inner Liners
Repurposing a shallow vintage-style enamel bread bin base or metal serving tray creates a leak-proof tabletop caddy for kitchen herbs. Culinary greens require containers with functional drainage holes to prevent root rot, yet indoor placement risks water rings on dining tables and wooden surfaces. Using a sealed, rust-resistant enamel vessel as an outer catchment tray allows you to corral several square plastic nursery pots into a single cohesive display. This setup simplifies plant transport to the sink for watering, maximizes linear window sill space, and maintains a clean, organized kitchen workspace.
Jump to the checklist ↓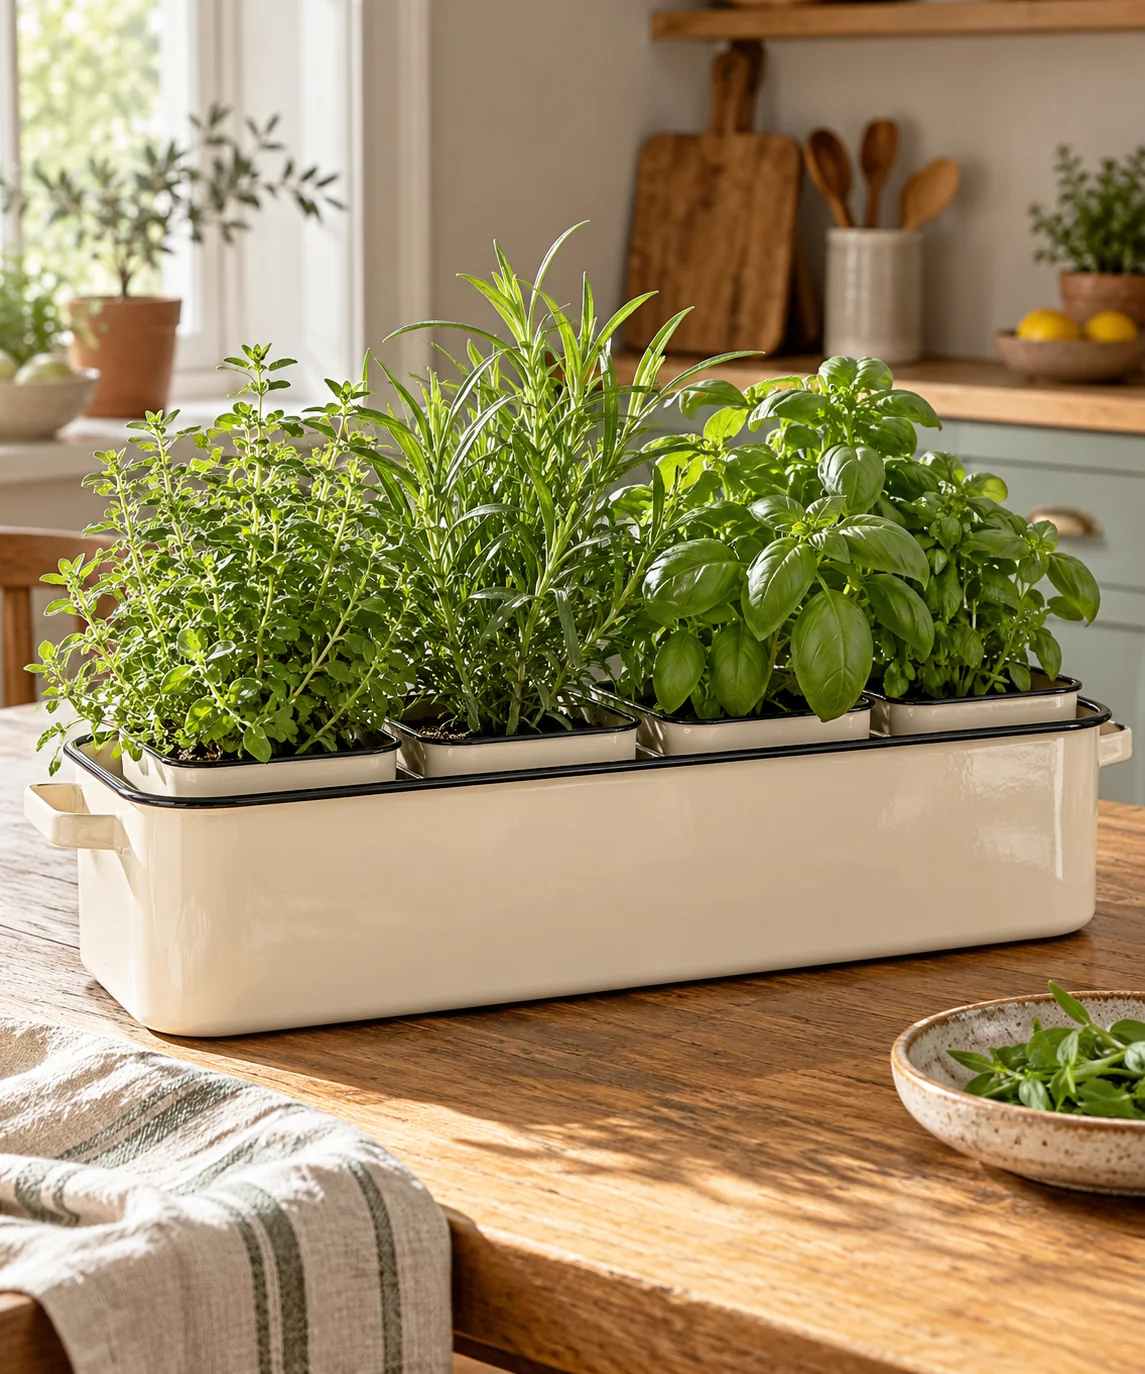
Enamel Basin Inspection and Preparation
Select an enamel bin base or metal pan free from deep cracks or chipping that expose bare iron to rust. The vitrified enamel glaze creates a non-porous barrier that repels water and prevents mineral staining from fertilizer residues. Wash the container with mild dish soap and dry thoroughly before loading pots. If your bin includes a tall bread cover, store the lid separately and utilize only the shallow bottom pan to ensure maximum airflow and direct light reach the plant crowns.
Square Pot Efficiency and Placement
Square nursery pots utilize interior container volume far more effectively than round pots, eliminating dead space along the edges of the rectangular enamel tray. Choose pots with identical heights to produce a neat, cohesive horizontal canopy. When grouping culinary varieties like basil, marjoram, and tarragon, leave a half-inch perimeter gap between the outer pots and the metal bin walls. This spacing prevents trapped moisture along the sides and permits easy finger access when lifting individual containers.
Elevated Drainage and Moisture Separation
Never allow nursery pots to sit directly in stagnant runoff water inside the enamel basin. Lay a plastic grid mat or low-profile silicone drying mat along the bottom of the enamel pan. This elevates the pot bases by a quarter inch, enabling excess water to drain freely through bottom holes without wicked capillary saturation back into the soil mix. Check the pan after irrigating and pour out accumulated runoff to maintain healthy root aeration.
Surface Protection and Countertop Safety
Enamelware has a hard, smooth surface, but small imperfections or grit beneath the metal base can scratch varnished dining tables or butcher block counters. Adhere rubber or silicone bumper feet to each corner of the enamel pan's underside. These bumpers raise the metal basin slightly off the table surface, preventing trapped condensation rings beneath the caddy and stopping the metal container from sliding when reaching for herbs with harvesting shears.
Group Irrigation and Transport Routine
The primary practical advantage of an enamel caddy is single-trip portability. Rather than carrying individual leaking pots across the kitchen, carry the entire caddy directly to the sink. Water each herb thoroughly at the soil level until liquid runs through the drainage holes, let the pots drip for ten minutes, then empty any standing reservoir in the enamel pan before returning the caddy to its permanent high-light windowsill position.
YOUR STARTING POINT
A little checklist.
Original editorial guidance. Images are AI-generated concepts, not photographs of completed projects. Our sources and approach.
Questions to consider
Can I drill drainage holes into the enamel bread bin?
Avoid drilling enamelware. Doing so fractures the glass-like coating, causing sharp shards and exposing raw steel underneath that rapidly rusts upon contact with moisture. Always use internal pots with pre-formed drainage holes instead.
How many herb containers fit inside a standard bread pan?
A standard bread bin base typically holds three to four four-inch square nursery containers comfortably. Measure your tray's interior base dimensions before purchasing pots to ensure a snug fit without forcing containers.
How do I remove water mineral rings from the enamel tray?
Wipe the interior with a soft cloth dampened with diluted white vinegar, then rinse with warm water and dry completely. Avoid abrasive scouring pads, which scratch the glossy enamel finish and make it susceptible to staining.