Rental-Friendly Decor · THE GUIDE
Organize a Compact Desk with a Free-Standing Desktop Pegboard
Working in rental spaces often means setting up home offices on modest desks without the option to anchor organizational shelving into walls. When stationery, cables, and reference tools consume primary desk real estate, a free-standing desktop pegboard provides a vertical layout solution. Resting on weighted timber blocks or secured with non-invasive edge clamps, a compact board lifts small essentials off work surfaces while maintaining complete mobility. By carefully evaluating depth allowances, weight distribution, and perimeter clearances, you can design an adaptable, drill-free workstation that relocates effortlessly at the end of a lease.
Jump to the checklist ↓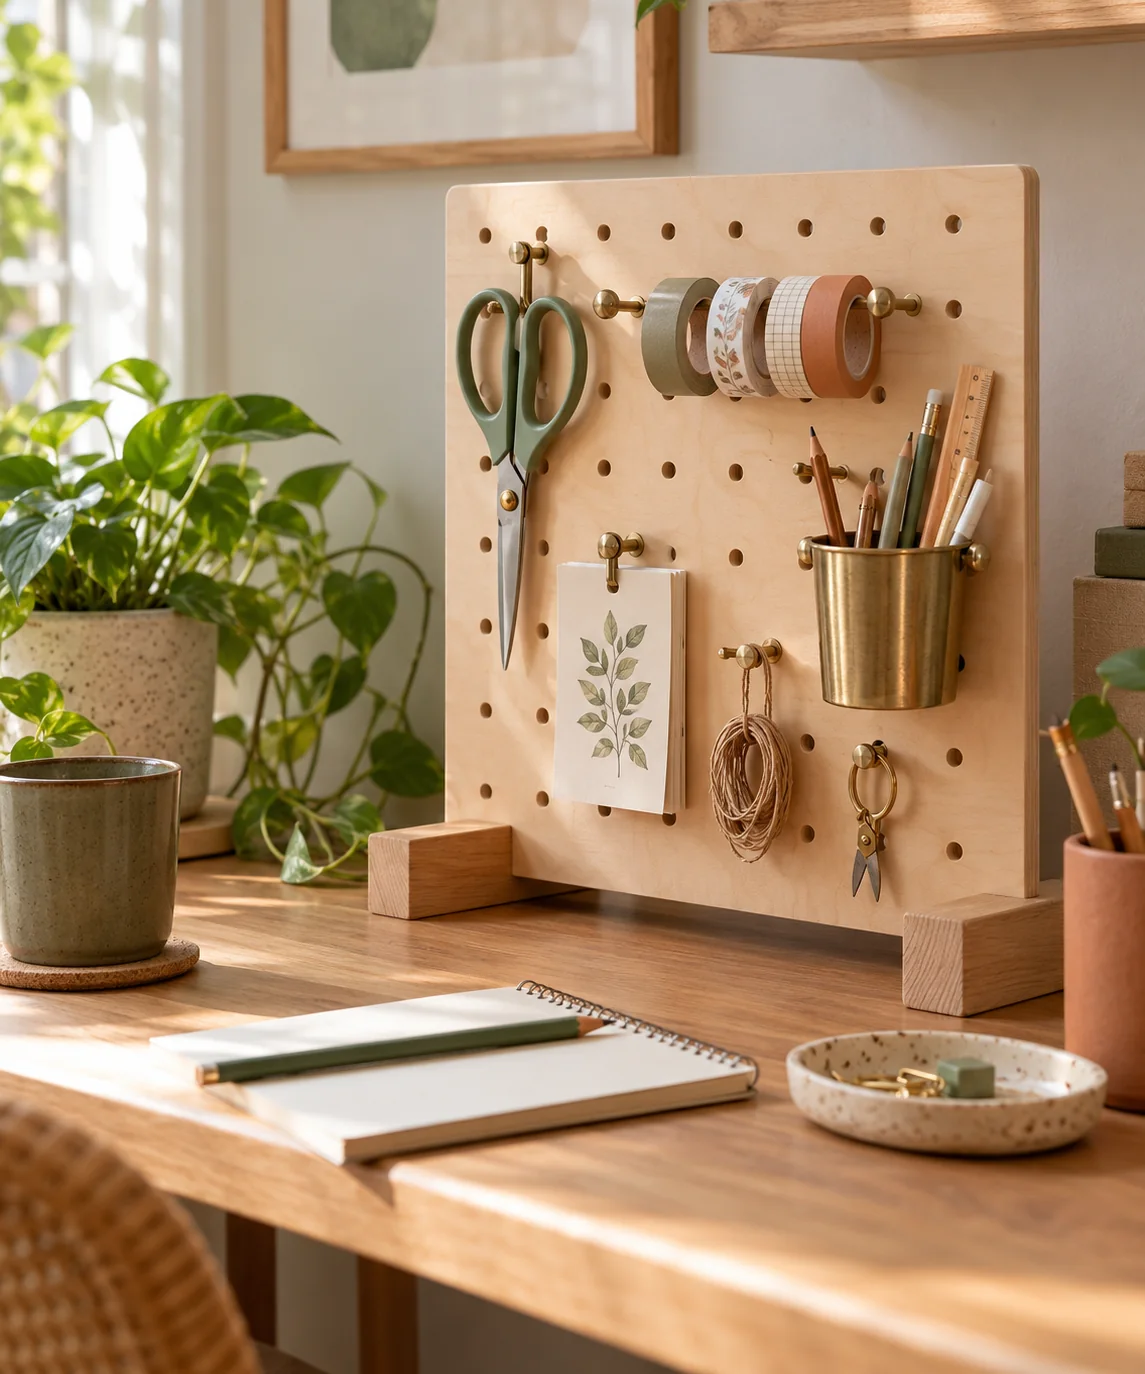
Foot Support and Clamping Methods
Desktop pegboards rely on non-invasive supports to stay upright without drilling into walls or furniture. Free-standing designs utilize slotted timber or metal base feet that rest directly on the work surface, relying on base depth and friction for balance. Alternatively, clamp-on models secure the board to the rear edge of the desk. When considering clamp styles, inspect the desk construction carefully. Solid timber and dense composite tops handle edge clamping well, but hollow-core or honeycomb paper-filled desks can crush under clamp pressure. Check the manufacturer's specified clamp depth and overhang requirements to ensure the bracket grips the structural edge without binding against underlying framework.
Depth Consumption Versus Usable Work Surface
Adding a vertical organizer changes how desktop depth is utilized. Free-standing foot brackets occupy space along the rear perimeter of the desk, effectively shifting the primary work zone forward. Before selecting a base style, measure the total desk depth alongside daily essentials such as monitors, laptop stands, external keyboards, and wrist rests. On shallow surfaces, wide foot brackets can crowd necessary peripherals toward the front edge. Clamp-mounted boards preserve more continuous desktop surface by suspending the panel off the rear rim, provided the desk rear is open and allows sufficient clearance behind the table.
Weight Distribution and Hook Loading
Distribute hanging accessories evenly across the pegboard grid to keep the center of gravity stable. Place heavier everyday tools, such as tape dispensers, full pencil cups, and staplers, in the lowest rows of hooks. Mounting weighted items near the top of a free-standing board increases leverage and makes the organizer prone to tipping forward when an item is lifted. Reserve the upper two-thirds of the board for flat, lightweight tools, notes, charging cords, or rulers. Routinely test hook engagement to ensure peg attachments remain securely seated during daily reach.
Cable Management and Lighting Clearances
Integrating task lighting and electronics around a desktop organizer requires coordinating clear paths for arms and cords. If using an adjustable desk lamp, offset the pegboard to prevent the lamp neck or shade from colliding with hung tools during repositioning. Route low-voltage peripheral wires and device chargers through open pegboard perforations to prevent messy cable loops across the active desk area. Non-adhesive hook-and-loop ties looped through peg holes keep cords organized along the rear face of the panel without creating tension on hanging accessories.
Reversibility and Stability Checks
Before placing delicate items or electronics near the organizer, assess the board's stability on your specific desk surface. Place the unweighted board in its planned position and gently nudge the upper frame to observe any wobble, rocking, or base sliding. On slick laminate or polished wood finishes, applying silicone or felt grip pads beneath wooden support feet helps prevent drift and shields the furniture from scuffs. If relocating the workstation at the end of a lease, free-standing and clamped setups disassemble easily without leaving holes, finish stains, or adhesive residue behind.
YOUR STARTING POINT
A little checklist.
Original editorial guidance. Images are AI-generated concepts, not photographs of completed projects. Our sources and approach.
Questions to consider
How much weight can a free-standing desktop pegboard safely support?
Load capacity depends on the manufacturer's specific rating, the material of the board, and the base design. Free-standing models supported by foot brackets generally accommodate modest accessory loads, such as small stationery containers, cables, and lightweight hand tools. Avoid placing heavy hardware, books, or dense equipment on unanchored desktop boards, and always consult the product specifications for exact distributed weight limits.
Can I use metal pegboard accessories on a wooden board?
Metal hooks and wire baskets can work on wooden or composite pegboards if the hole diameter and center-to-center spacing match the hardware dimensions. Check whether your board utilizes standard hole sizes and spacing, often distinct between metric and imperial designs, to ensure attachments seat firmly without splitting or enlarging the holes.
How do I prevent small items from rattling against the board?
Lining metal hanging bins, cups, or wire trays with thin cork inserts or adhesive felt reduces vibration and dampens sound when placing tools inside. Soft padding also prevents metal tools and containers from marring or scraping painted, laminated, or natural wood board finishes during routine daily adjustments.