Small Kitchen Organization · THE GUIDE
Sink-Side Ceramic Sponge Tray with Drain Spout
Wet sponges and soap bars left flat on kitchen counters trap moisture against laminate or stone surfaces, leading to slime and stubborn mildew rings. A ceramic tray equipped with an integrated drain spout solves this issue by using gravity to direct runoff directly into the sink basin. Unlike flat saucers that pool dirty rinse water, a sloped ceramic caddy elevates cleaning tools and promotes passive airflow. Setting up this small sink-side station establishes a permanent home for damp scrubbers, protects countertop sealants from standing water degradation, and maintains a cleaner prep perimeter.
Jump to the checklist ↓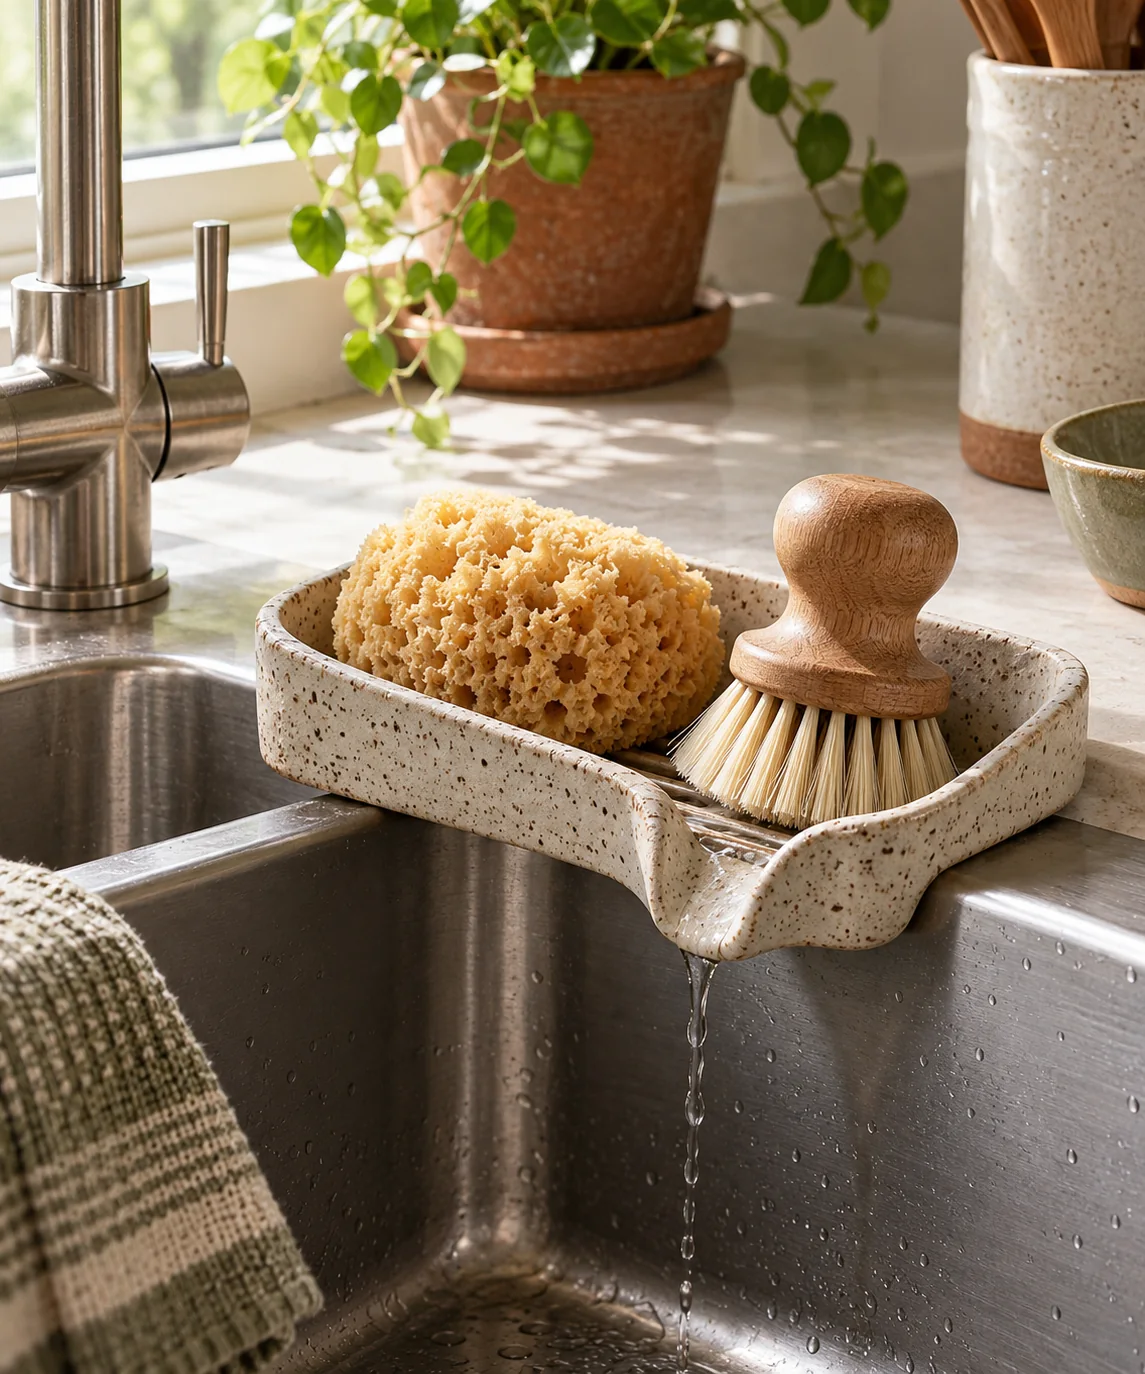
Evaluating Counter Clearance and Basin Overhang
Observe the space between the faucet base, backsplash, and sink rim before selecting a spouted tray. The unit needs a level resting area where the integrated drainage spout extends comfortably over the interior edge of the basin without resting directly on the sink rim. For drop-in sinks, a raised lip can elevate the front edge and cause runoff to pool backward if the tray base lacks sufficient height. For undermount sinks, check that the countertop cutout permits forward drainage without puddling. Comparing manufacturer dimensions against your sink layout helps verify that runoff empties cleanly into the basin.
Observing Drainage and Tray Alignment
Before loading the tray with cleaning tools, set it beside the sink and test the drainage path. Pouring a small amount of clean water onto the upper surface lets you observe how liquid travels across the sloped channels toward the spout. If water pools near the sides, check whether the countertop itself has an uneven pitch. Small self-adhesive silicone feet or bumper pads placed under the rear base can slightly increase the forward tilt, helping water direct toward the spout channel without requiring permanent modifications to the counter.
Arranging Tools to Encourage Drying
Organize cleaning accessories across the tray surface to maximize exposure to ambient air. Resting cellulose sponges on their narrow edge rather than flat against the ribs reduces contact area and allows air to reach both sides during drying. Place solid dish soap bars directly across raised ridges so moisture drips away instead of softening the bar base. If using dish brushes, rest them with bristles facing downward over the drainage channel or store them in a companion holder so runoff drains into the sink basin.
Managing Mineral Deposits and Surface Care
Rinse water carries dissolved minerals, grease, and soap residue that collect on glazed ceramic surfaces over time. Wipe the tray regularly with a soft cloth and warm water mixed with mild dish soap to minimize cloudy mineral deposits along the drainage channel. Avoid steel wool, scouring powders, or harsh abrasive pads that could abrade glossy glazes or protective finishes over time. For stubborn soap film around the drainage lip, soak the tray in warm soapy water before gently wiping it clean with a sponge.
Material Limitations and Countertop Protection
Glazed ceramic provides weight and stability beside a sink, but it remains susceptible to chipping or cracking if struck by heavy cookware or cast-iron pans during dishwashing. Position the tray away from high-impact washing paths to reduce the risk of accidental strikes. For natural stone counters, verify that water does not migrate beneath the base pads over time, and lift the tray during routine kitchen cleaning to wipe and dry the counter surface according to the stone sealant manufacturer's care guidelines.
YOUR STARTING POINT
A little checklist.
Original editorial guidance. Images are AI-generated concepts, not photographs of completed projects. Our sources and approach.
Questions to consider
Can a ceramic sponge tray go in the dishwasher?
Many glazed ceramic trays are dishwasher-safe, but always check the manufacturer care instructions first. Trays with glued rubber or silicone feet should be washed by hand in warm soapy water, as high dishwasher temperatures can loosen adhesive backings over time.
How can I prevent a ceramic tray from marking stone countertops?
Ensure the tray rests on soft silicone or rubber bumper pads rather than bare unglazed ceramic. Inspect the pads periodically to confirm they remain clean and firmly attached, preventing friction marks on delicate counter surfaces.
Why does water sometimes sit in the spout channel instead of draining?
Surface tension from soap residue, grease, or low slope can cause water droplets to cling to the glaze. Clean the channel with warm water and dish soap, and verify that the tray rests on a level or slightly forward-tilted surface.