Household Reset Routines · THE GUIDE
Weekly Dish Drying Rack Deep Reset and Drip Tray Airing
Beside a compact single-basin sink, the dish drying rack works continuously, leaving its drip tray vulnerable to standing water, white mineral crust, and slimy film. Daily surface wiping often misses the underside of drain boards and tightly spaced wire joints where moisture lingers. A weekly deep reset breaks the cycle of persistent dampness and limescale accumulation. By fully emptying the rack, dissolving chalky mineral deposits with mild household cleaners, and allowing components to air dry completely on edge, you keep the sink perimeter hygienic, prolong equipment life, and restore clean prep space.
Jump to the checklist ↓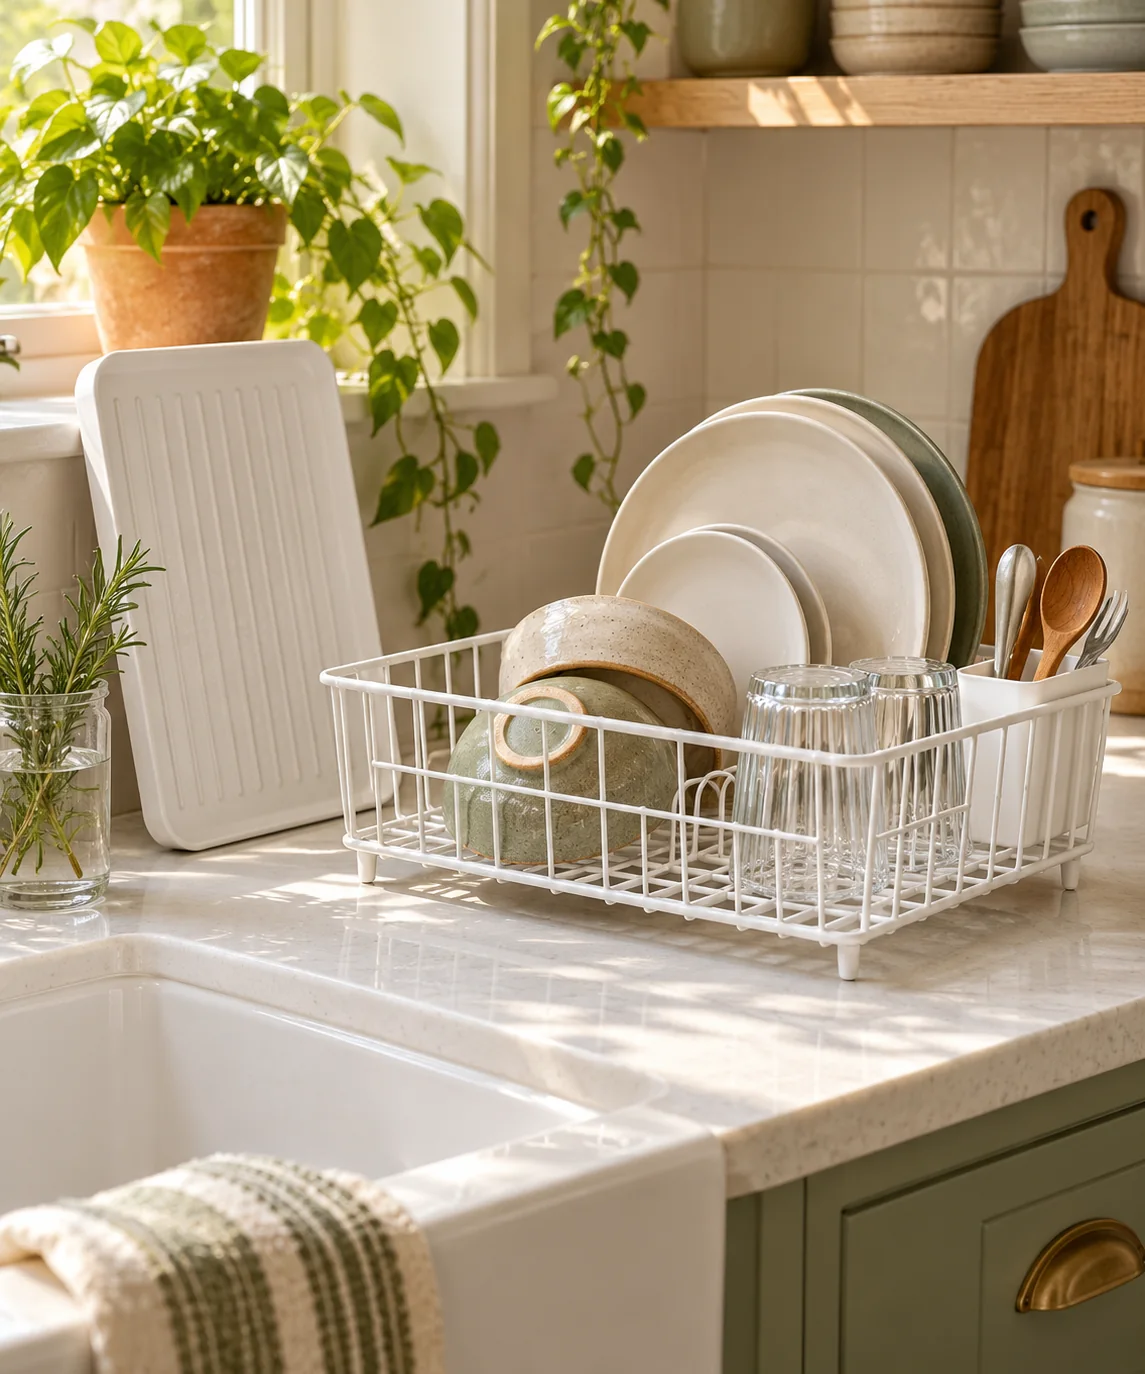
Disassembly and Complete Clearing
Begin by putting away every dried glass, plate, and utensil currently stored in the drying rack. Separate the wire frame from the drip tray, utensil caddy, and any clip-on attachments like cup tines. Working with disassembled parts allows you to examine crevices where moisture pools unnoticed. Check the counter beneath the tray for trapped condensation or mineral deposits. Clearing the entire sink flank lets you treat both the rack components and the surrounding worktop safely without knocking dishes onto the floor.
Treating Mineral Scale and Water Spots
White chalky rings on drip trays result from dissolved minerals left behind as tap water evaporates. To dissolve these deposits, soak the plastic or coated metal tray in a sink basin with warm water and standard distilled white vinegar for fifteen minutes, ensuring acidic runoff does not contact acid-sensitive natural stone worktops. Use a non-scratch nylon scrub sponge or soft-bristled brush to lift softened limescale along the drain spout and ridges. Avoid abrasive scouring pads or harsh bleach mixtures, which strip protective anti-rust coatings from wire frames and scratch smooth plastic drain boards.
Scrubbing Wire Joints and Utensil Cups
Utensil caddies and wire solder joints collect dark residue and soap scum faster than flat surfaces. Scrub the interior corners of utensil cups using a narrow bottle brush or an old clean toothbrush dipped in warm soapy water. Inspect the bottom drainage holes to confirm water drains out freely without clogging. Clean the wire frame systematically from top rungs to feet, paying close attention to rubber foot caps where grime settles. Rinse all components thoroughly under warm running tap water.
The Full Airing and Drying Phase
Reassembling a damp drying rack traps residual water, encouraging rapid residue buildup and stagnant odors. Instead, prop the washed drip tray vertically against a tiled wall or splash panel to drain completely by gravity. Set the wire frame and utensil cup onto a dry microfiber towel on an open counter space. Allow all pieces to air dry completely before reassembly. Providing adequate drying time prevents moisture from lingering in joints and keeps plastic components fresh throughout the week.
Sink Surround Cleaning and Alignment
While the rack components dry, clean the counter space beside your single-basin sink. Wipe away standing moisture, soap residue, and mineral marks from the counter using mild dish soap and warm water. Dry the counter completely with a clean cloth. When reassembling, position the drip tray with its drain spout angled downward into the sink basin with a slight slope. Ensure rubber feet sit securely on the counter to prevent shifting or scratching during daily washing tasks.
YOUR STARTING POINT
A little checklist.
Original editorial guidance. Images are AI-generated concepts, not photographs of completed projects. Our sources and approach.
Questions to consider
How do I remove stubborn limescale without using harsh chemicals?
Saturate a paper towel with distilled white vinegar and drape it directly over the mineral scale for twenty minutes. The acid dissolves calcium buildup, allowing you to wipe the tray clean with a non-scratch sponge.
Why does my dish drying rack develop black spots on the tray?
Black spots are usually mildew or bacterial slime thriving in trapped moisture and stagnant water. Thoroughly washing with soapy water, rinsing, and ensuring weekly complete vertical air drying prevents these deposits from returning.
Is it safe to wash a dish rack drip tray in the dishwasher?
Check the manufacturer guidelines first. Many plastic drip trays warp under high dishwasher heat, ruining their drainage slope. Wire racks with protective rubberized coatings should typically be hand-washed to avoid chipping or peeling.